


Hey Guys!!
So today i got my FLYT PI sent to me for testing by FLYTBASE. Its a awesome board for all DIY Hobbyist and Commercial Use.
FLYTPI is a Raspberry-Pi preconfigured for the using various autonomous functionalities via Web console or IP based applications, there are various use-cases and applications platforms supported by FLYTOS.

So basically it is a layer on the Flight controller inorder to extend its features like autotake, Follow me, Vision positining,Object detection,etc. Lot of features and wide variety of applications.
You can visit FLYTBASE and check the product and their work here : FLYTBASE
And you can visit : FLYTBASE STORE
Coming to What we get in the FLYTPI KIT.
So the contents of FLYT PI KIT are as follows :
- 1x Raspberry Pi3 Model B
- 1x Plastic Enclosure
- 1x 32GB uSD Card Class 10 with FlytOS Commercial Edition
- 1x Attached UART-to-UART cable
- 1x Power Module 5V 4A (Powers both FlytPi and Autopilot, provides battery out for ESCs)
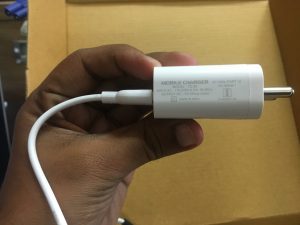
- 1x Wall Adapter (Micro-USB)
- 1x HDMI Cable
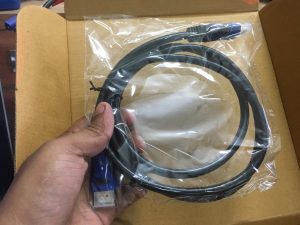
- 1x Ethernet Cable


To visit the official instructions for using FLYTPI : FLYTPI DOCS
VIDEO : FLYTPI UNBOXING
Lets get started:
First step is to remove all the contents out and explore them.
Later after removing all the packaging and all i could see a raspberry pi with sd card preconfigured and installed with “flytos” by flytbase.
Now i took my pixhawk which is also new for this only setup, you can buy yours from any website or CLICK HERE
So coming to the connections
As you see RPI comes preconfigured with flytos and with a nice case and all wires required, you will find a molex cable coming out of the RPI case so that goes to your Pixhawk Telemetry port 2 for communication between (RPI)FLYTOS and PIXHAWK.
So you are all set when you order a FLYTPI. You get all ready to go device thats plug and play.
You just simply have to connect this cable as shown below :

Now that you can browse wifi settings on any of your mobile device or laptop and connect to flytpi.

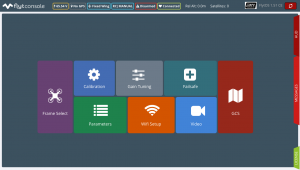
This is a image of FLYTPI been booted up and in ready mode.
Now that you are in the link : 10.42.0.1/flytconsole/ in your browser you can see something like this:
NOTE : While powering on your FLYTPI remember to power on your Pixhawk so as the Flytos detects Pixhawk.
So as you see your license is already activated from flytbase. Just and Plug and Use.
Commercial Edition: FLYTOS
FLYTPI COMBO: FLYTPI
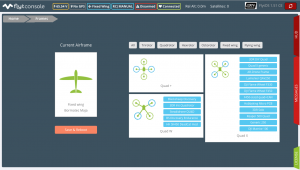
Frame selection is as follows :
So lets check out some more things like calibration:
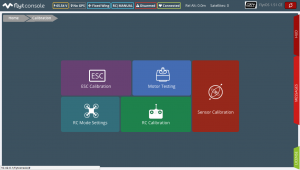
So all the features that you see above arent available with FLYTPI as of now but then you can use the sensors calibration tab and RC calibration tab easily.


Coming to the PLUG AND PLAY POINT again you can connect camera or any USB devices and use them easily check out some features for camera below:

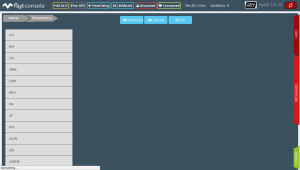
RC PARAMETERS:

So to get the maps functioning properly you will have to connect a dongle to FLYTPI to get the maps downloaded which it doesnt all on its own if you are planning to use auto-missions.


Now that you can see the GCS:

If you do not have internet connected it might look something like this:

But is totally workable if you are just to explore it and not use it.
Battery status checking

So thats all for the Look and feel of FLYTPI am enjoying the experience you can grab yours from below link
